Pouring a perfect tulip or rosetta in your cappuccino is the dream for many home baristas who just bought their new espresso machine.
But when you google “latte art” it’s easy to be overwhelmed by the flood of videos and how to’s. Search no further, because in this blog we’ll walk you through the basics of how to do latte art at home.
Inhoudsopgave
How to do latte art
A heart is the easiest latte art shape to start with. If you’re new to latte art, we recommend mastering this one before moving on to tulips or rosettas.
Here’s a step-by-step guide to pouring a latte art heart:
You’ll need:
A jug of well frothed milk (see below for tips)
A single or double espresso in a cappuccino cup
After swirling and tapping your frothed milk, you should have a smooth, glossy microfoam with no bubbles. That’s the base for any kind of latte art.
Now, follow these steps to pour your latte heart:
1. Tilt your cup slightly.
2. Hold the jug a bit higher above the cup and start pouring in a circular motion until your cup is about two-thirds full.
This height helps the milk sink beneath the crema and mix well.
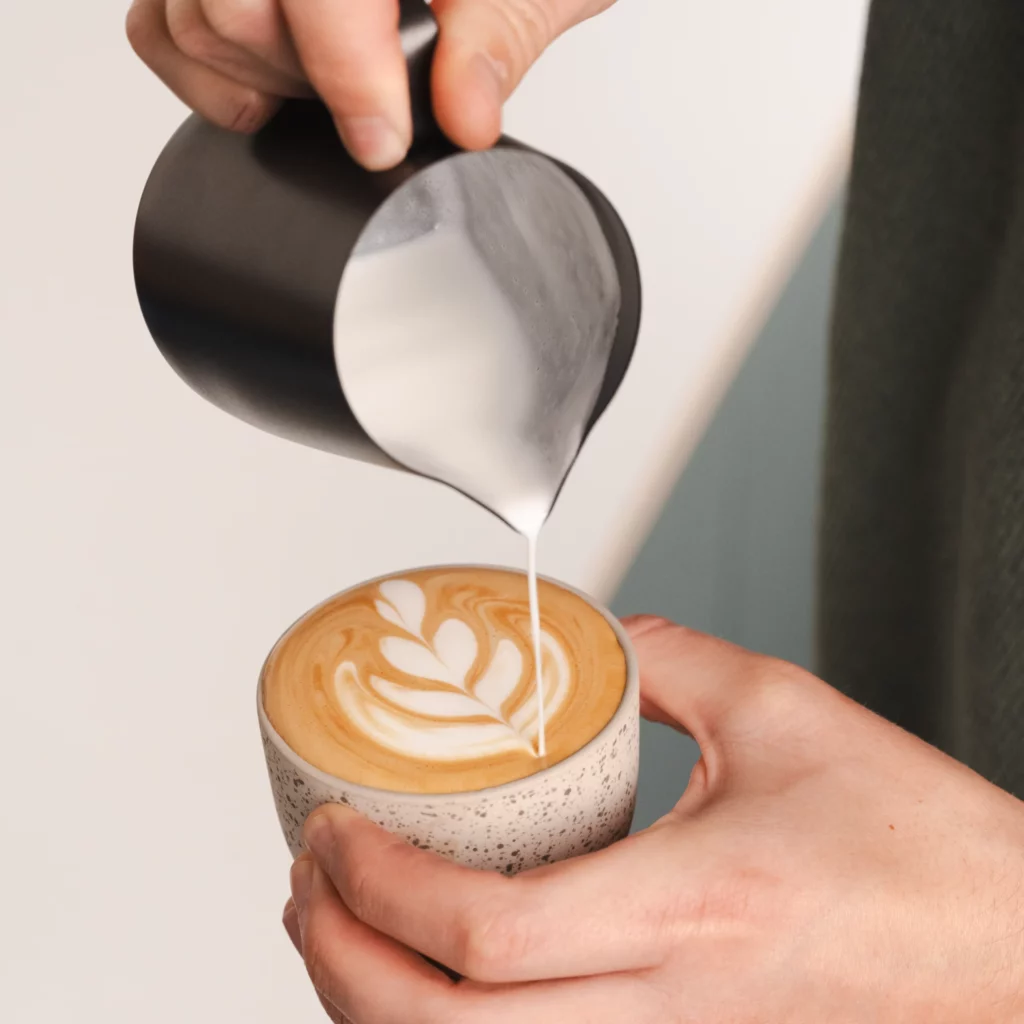
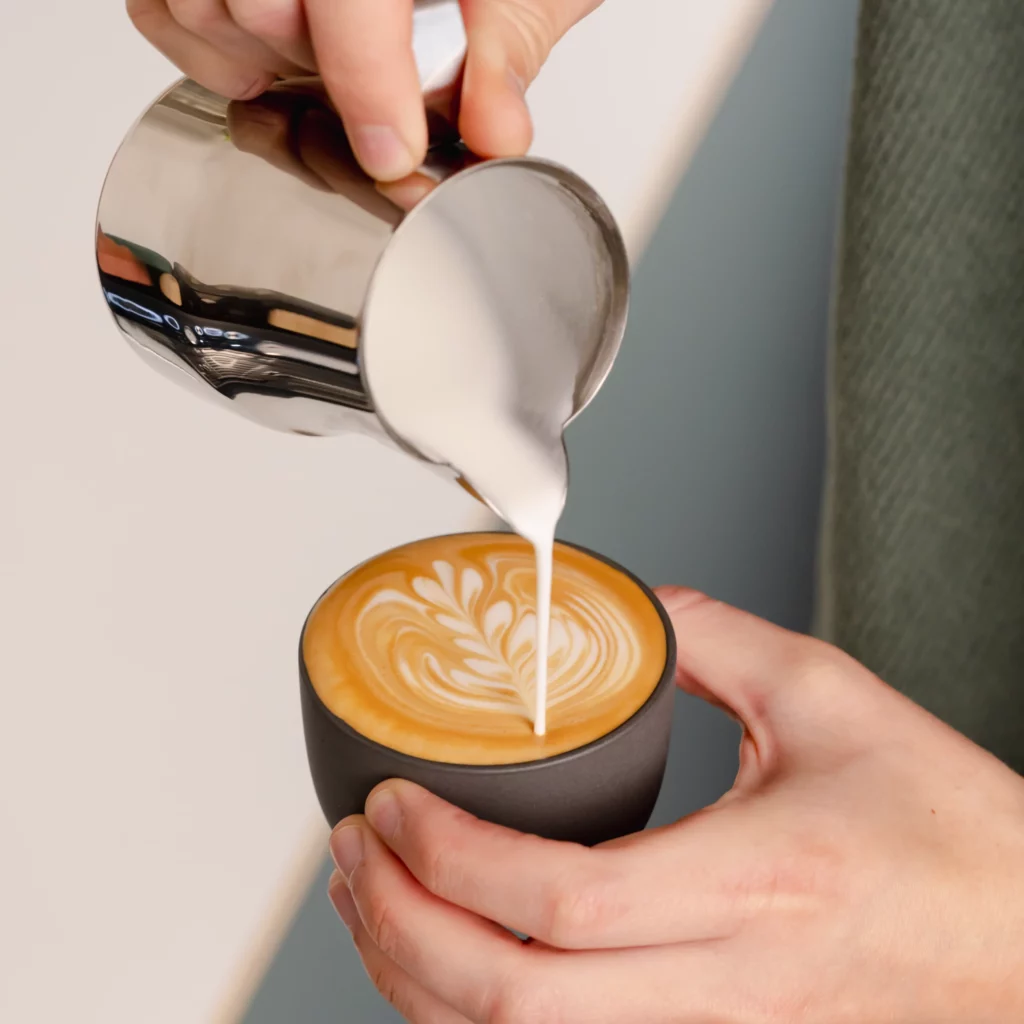
3. Straighten the cup and lower the jug until it’s just above the coffee. Slowly pour until a white circle appears.
4. Move the jug forward in a straight line to create the “tail” of the heart. Do this while gently raising the cup.
5. Done
Pouring a heart
Foaming milk for latte art
Achieving the perfect microfoam requires a lot of practice and precision. It’s no wonder this takes a while to master.
First of all you’ll need a milk pitcher as well as an espresso machine with a steam wand (preferably stainless steel), so that you can actually start frothing milk for your latte art.
Below, we’ll provide you with the basics to help you take the first step towards perfect microfoam.
Pick the right milk
When it comes to choosing milk, there’s really one best option: whole cow’s milk. Thanks to its relatively high fat content, it’s ideal for creating microfoam.
Whole milk is also recommended for beginner latte artists, as it’s simply a bit easier to froth.
Of course, you can also go for plant-based alternatives. In that case, always pick a barista milk.
You might think this is a waste of money, when the cheaper regular oat milk is right there, but it won’t be. In barista oat milk, the fat content is made to resemble whole milk more closely than in regular oat milk.
This also applies to almond milk and other plant-based milks.
Don't use too little (or too much) milk
You always start by filling your milk pitcher with milk.
Make sure to leave enough space for the milk to expand while frothing.
That means: fill the pitcher to about 1 cm below the start of the spout.
You’ll quickly notice when you’re using too much milk and it overflows, but using too little can also be a problem: it heats up too quickly and makes it hard to create a proper vortex.
Position your steam wand
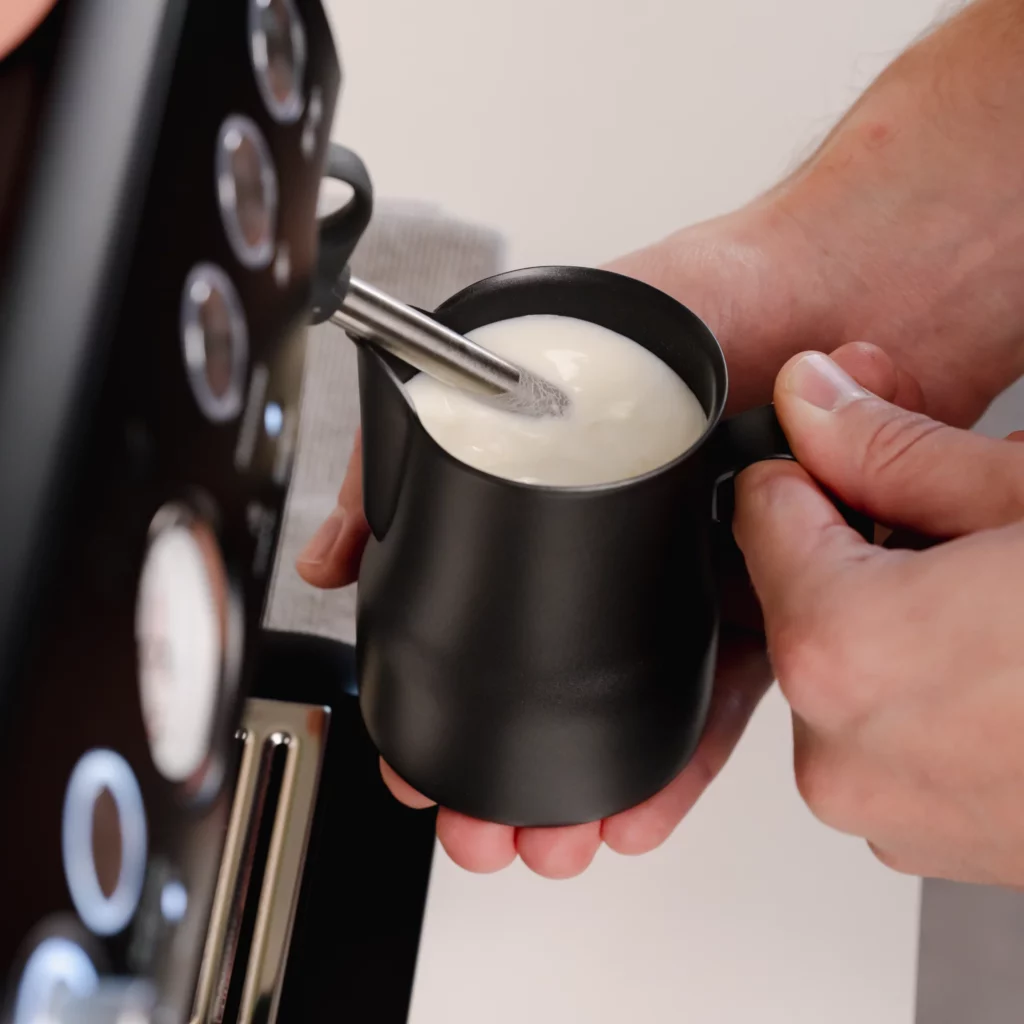
Place the steam wand into the milk through the spout of your pitcher.
Lower the tip of the wand about half a centimeter below the surface of the milk.
Using the spout helps you keep a consistent position, making it easier to repeat the same motion every time for perfectly frothed milk.
Make sure the tip of the steam wand isn’t in the center of the pitcher, but closer to the side or back.
This helps create a whirlpool, which adds air and distributes it evenly through the milk.
That’s what gives you the creamy, silky texture you’re after for your latte art.
Add air to your milk
Once your steam wand is in the right position, you should see a whirlpool forming and hear a slurping, hissing sound.
This is a good thing: it means air is being added to the milk in the right way.
A common sign that your steam wand is in the wrong spot is a high-pitched screeching sound. That usually means the wand is too deep in the milk.
On the other hand, if it’s not deep enough, you’ll get big bubbles instead of smooth microfoam.
Create the right volume
For a normal cappuccino, feel free to froth until your milk has increased in volume by 50% to 80%.
If you want the perfect latte art, then go for a 30% to 40% increase, so your foam is not too thick to pour detailed shapes with.
Have you reached a point where you have enough volume in your milk foam? Then lower your steam nozzle a tiny bit deeper into the milk jug. This way, you stop adding air but retain the swirl that causes the air to be absorbed into the milk.
Reach the right temperature
Because a stainless steel milk jug makes the temperature easy to feel, you can check the temperature with your hand at the bottom of the milk jug. When the bottom of the milk jug gets too hot to hold for 2 seconds, you have reached about the right temperature.
Ideally, this temperature ranges somewhere between 60 and 70 degrees Celcius.
Finish up
Now that your milk is the right temperature, turn off the steam and remove the pitcher.
Turn on the steam wand for a little afterwards to remove any milk residue.
Then clean your steam wand with a barista cloth to prevent milk residue building up.
Tap the base of your milk pitcher on your counter to remove the last large air bubbles that might ruin your latte art.
Swirl the milk around in the milk jug as if you were about to taste a glass of wine, this adds a nice sheen to your milk foam.
Pour your latte art
Now you are all set to decorate your cappuccino with latte art.
The right milk pitchers for latte art
Het doel van een melkkan is om het perfecte microfoam te creëren voor de latte art in jouw cappuccino. Microfoam is wanner de melk perfect romig en zacht is en de luchtbellen zo klein dat je deze bijna niet meer ziet. Dit is zeker niet eenvoudig te bereiken en vraagt veel oefening.
Wanneer je opzoek bent naar een melkkan, let er dan op dat deze van RVS is. Dit is met name belangrijk voor de temperatuurbeheersing. Een RVS melkkan maakt dat de warmte van de melk snel en goed voelbaar wordt aan de buitenkant van het melkopschuimkannetje.
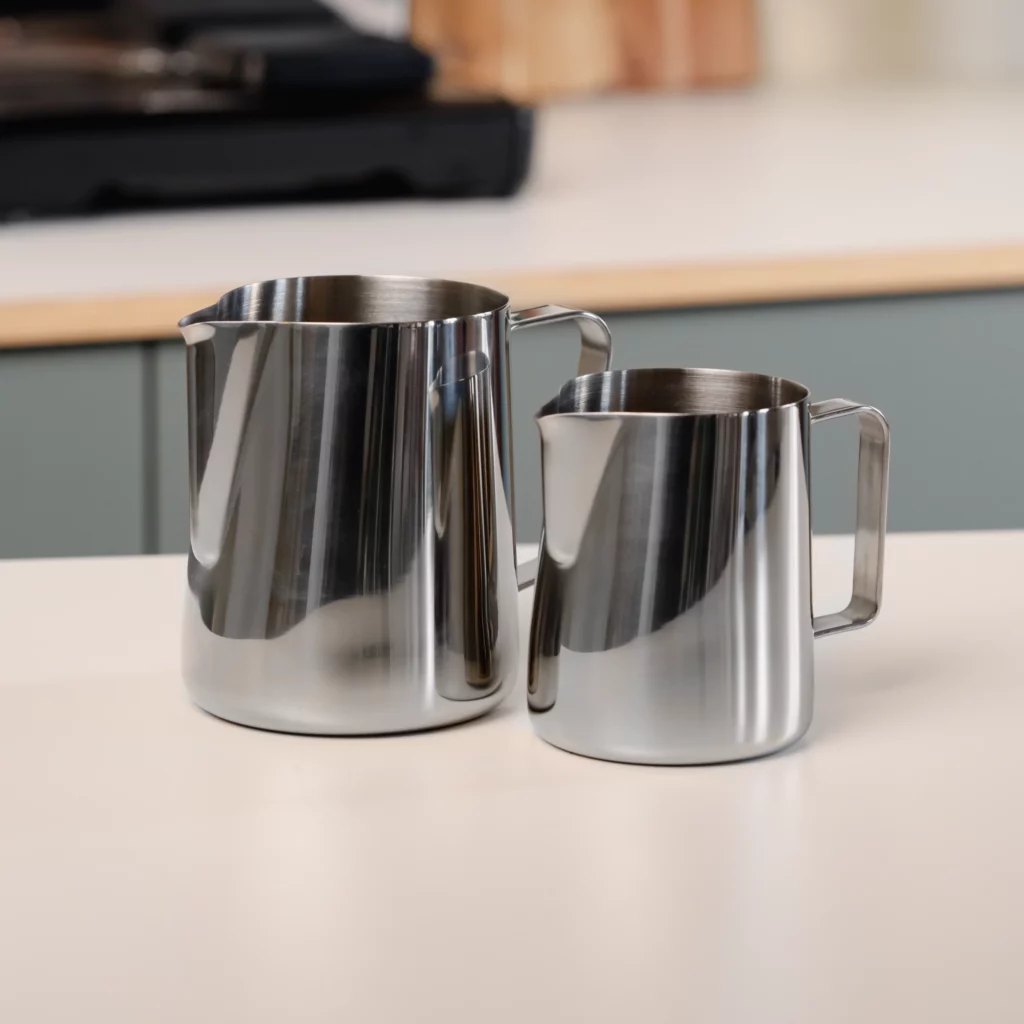
We offer three sizes of milk frothing jugs: 350ml, 500ml and 750ml.
You use them for about:
- 350ml: One cappuccino
- 500ml: Two cappuccino’s
- 750ml: Four cappuccino’s
Our milk pitcher set includes a 350ml and a 500ml version.
The shape of the pitcher is especially relevant for creating latte art.
We offer the two most common options. The basic “essentials” style and the “Italian” style.
The “essentials” milk jug is perfect for the novice latte artist.
Do you want to take your latte art to the next level with more control and sophisticationt? Then the “Italian” milk jug with its pointed spout is the best choice for you!
Latte art tips
Practice using soap
Making latte art takes a lot of practice, but you really don’t want to be foaming milk that you’re not gonna use.
This is why people advice you to practice foaming water with a bit of (dish) soap in it.
This makes for a pretty realistic simulation, and it’s less wasteful too!
Don't throw away milk
Did you use too much milk and some remains in your milk jug? Don’t throw it away, just put it in the fridge.
Because you use a stainless steel milk jug, it will cool down in no time and be ready for your next cappuccino.




 No products in the cart.