The coffee tamper is one of the very first tools that comes to mind when you start working with espresso.
But what exactly does a tamper do? And how do you make sure you’re using a good one?
In this blog, we’ll walk you through everything you need to know about tampers: what they are, the different types available, and how to use them properly.
What is a tamper?
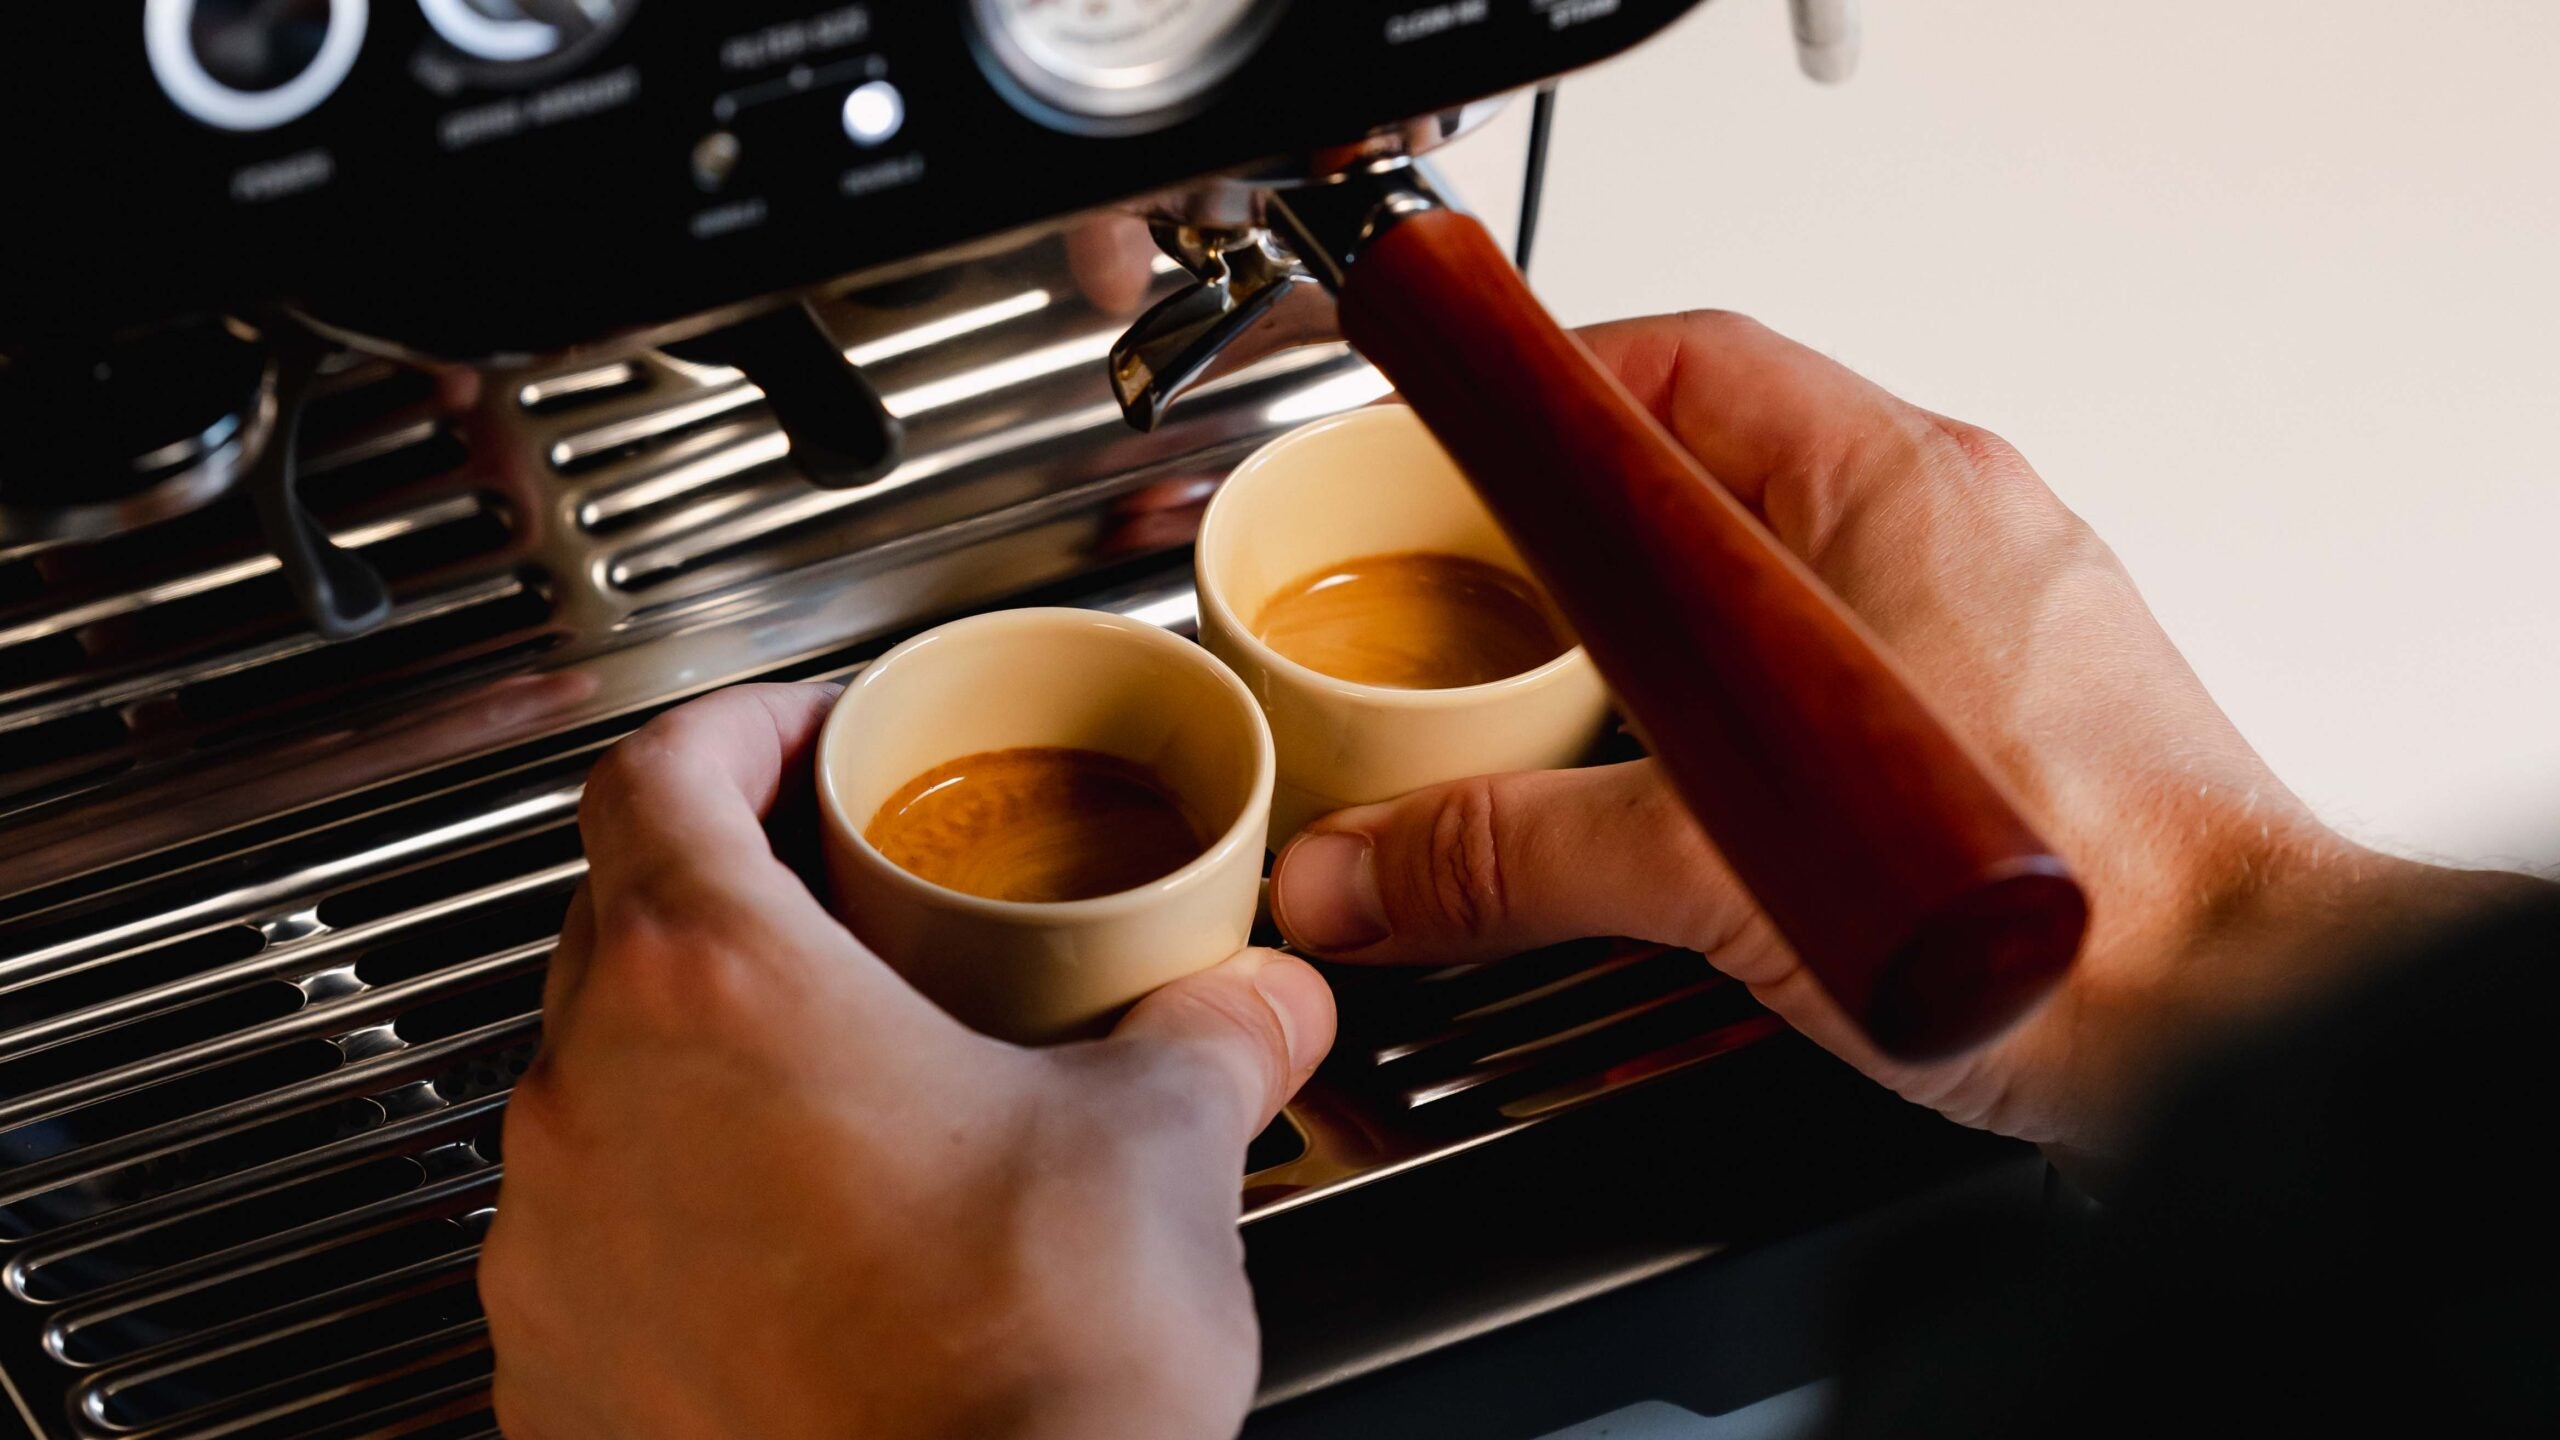
A tamper is used to compress ground coffee evenly inside your portafilter. This creates a tightly packed, level coffee puck, which is what you need to get your espresso extracted nicely.
The classic tamper has two parts: the handle and a weighted stainless steel base. They come in a variety of finishes, such as wood, black, or full stainless steel.
Why is tamping necessary?
First of all, tamping is essential to create space between the coffee puck and the brew group. In this space, pressure builds up so the water can flow through the coffee under 9 to 11 bars of pressure.
The second reason to tamp is to make a compact puck that allows water to flow evenly through the coffee grounds.
If you skip this step, the water will follow the path of least resistance and create little channels in the coffee bed. This results in a weak, often sour-tasting espresso.
Different types of tampers
When you bought your espresso machine, you probably received a plastic tamper or a very lightweight one. In our opinion, these tampers always feel cheap and don’t sit comfortably in your hand.
Time to upgrade! But which type of tamper should you go for?
Classic tamper
A traditional barista tamper is the one you’ll see in almost every coffee bar. If you want the full barista experience, this is a great choice.
One advantage of a classic tamper is that you have a lot ofcontrol over the pressure you apply.
Calibrated tamper
A calibrated tamper has a built-in spring that clicks when you reach a set pressure. This way, you know you’re always using the same force. Ideal for home baristas who are just starting out or want extra consistency.
Pro-tip: Combine a calibrated tamper with a good distributor for more evenness.
Palm tamper
A palm tamper helps you tamp straight and control the pressure you apply to the coffee. Personally, we feel it takes away the barista feeling a bit, but it offers many benefits for beginners.
Especially handy if you’re just getting started, tough in our experience, you’ll have a bit more control with a classic tamper.
How do you use a tamper?
The most important question, of course, is how to actually use a tamper. Luckily, you only need 3 steps to tamp your coffee correctly.
Step 1: Distribute the coffee before tamping
If your coffee isn’t evenly distributed, the grounds in the center will be denser than at the edges. This makes even extraction difficult to achieve.
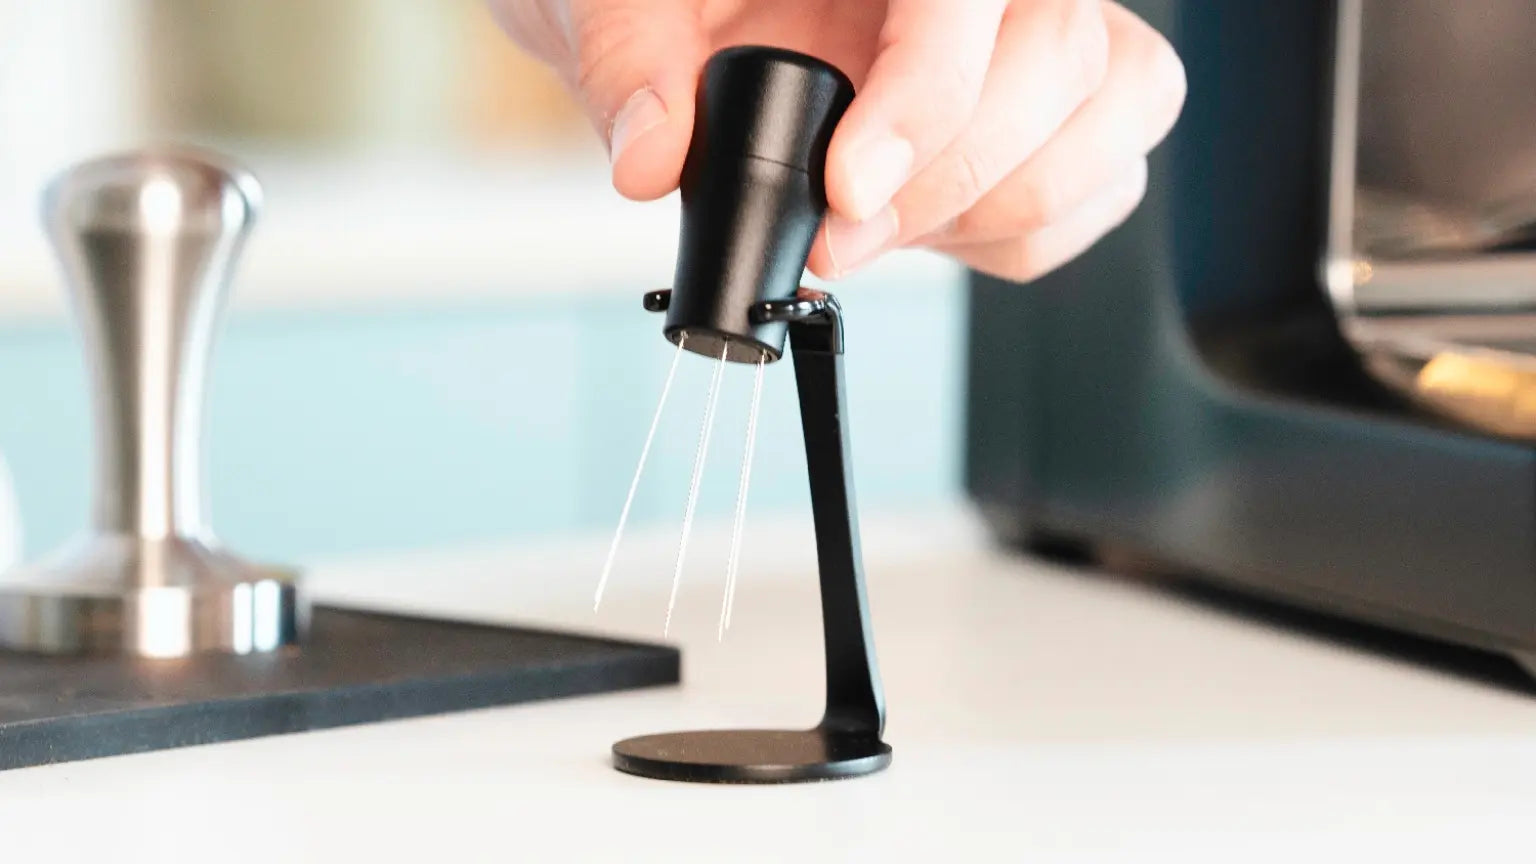
We recommend two techniques here: the “tapping” method or using a coffee distributor.
The tapping technique is perfect for beginner home baristas. Gently tap the side of your portafiler a few times with the palm of your hand to spread the grounds more evenly before tamping.
Want to be extra sure your coffee is well distributed? Then we recommend using a WDT-tool and a coffee distributor.
Step 2: Hold your tamper like you’d hold a doorknob
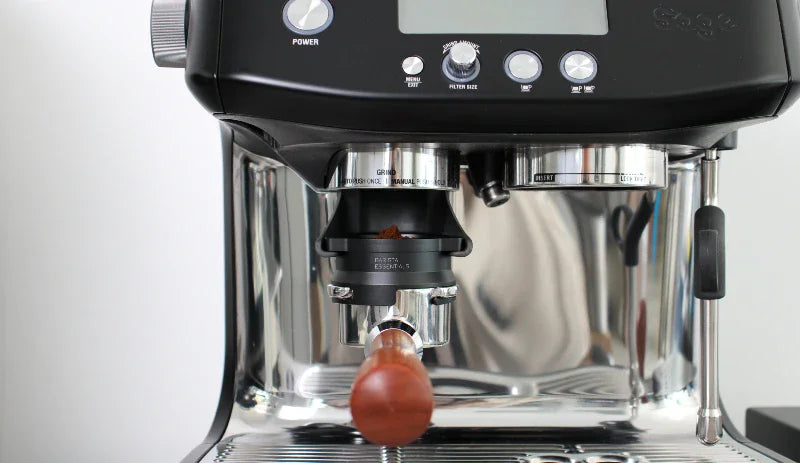
Hold your portafilter firmly and keep it as level as possible. A tamping mat is very helpful to protect your counter and stabilize your portafilter while tamping.
To help keep everything level, you van also use a tamping station. This holds your portafilter steady so you can focus on tamping evenly.
Barista Tip: Grip the tamper like you’re holding a doorknob (see the photo).
Step 3: Apply even pressure
Now, apply steady, even pressure to the coffee puck. Use your thumb and index finger to feel whether the tamper is flush with the edge of the portafilter.
Note: The amount of pressure is much less important than tamping level and being consistent. An uneven tamp affects the taste of your espresso far more than the amount of force you use. So don’t stress too much about exactly how many kilos of pressure you’re applying.
Which tamper fits my portafilter?
Tampers come in different diameters. The standard sizes are 51 mm, 53 mm, and 58 mm.
Before you buy, check our sizing guide to be sure you’re ordering the right diameter. This guide is based on feedback from customers and is continuously updated.
Tips for better tamping
Want to tamp even more consistently? With these barista accessories, you can take your skills to the next level.
Use a tamping mat
A tamping mat not only protects your countertop but also keeps your portafilter from slipping while you tamp. The anti-slip surface gives you more grip and confidence.
Use a tamperstation
A tamping station gives your portafilter a designated spot. This helps you tamp more steadily and with better posture. Especially recommended if you make espresso daily!
Conclusion
We hope this guide has answered all you questions about tamping. If not, feel free to get in touch, we’re always happy to help!