


Small WDT Tool, Big Difference
As enthusiastic home baristas, we are always looking for ways to improve our coffee.
So when I (Hugo) first used a WDT tool to make espresso, I was immediately convinced.
After grinding, you stir with this tool (use a dosing ring here to prevent spilling). Doing this helps break up all the lumps and distribute the coffee perfectly before tamping. I was really surprised at the difference this made for my espresso.
Convinced or not, I was still bothered by the poor (often 3D printed) quality and dangerously sharp needles found with a lot of WDT tools.
What I wanted was a weapon against lumps without the risk of spontaneous acupuncture. This is exactly the tool we then set out to develop.
Our Design, Your Perfect WDT Tool
After a year of research, testing and development, we are proud to present our WDT tool to you.
Carefully designed with the following features:
- Balanced needle thickness (0,35mm), delicate but sturdy
- Dulled edges so no scratching in your filter basket
- Interchangeable needles with spare set included
- With holder (optional) for easy storage
- Aluminium so much sturdier than those plastic WDT tools
Switching Needles Made Easy
Once you receive your WDT tool, you can easily unscrew it to place the needles. Switching them out is just as simple and done the same way.
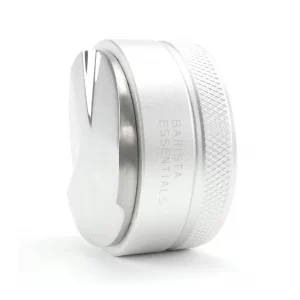
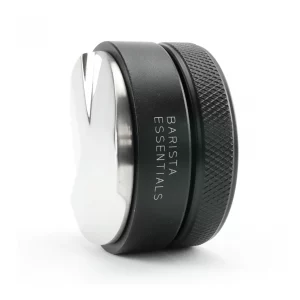
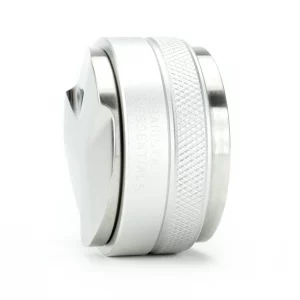
WDT Tool or Coffee Distributor?
After the WDT tool, some home baristas use an espresso leveler. Both are known as coffee distribution tools, but they work slightly differently.
The key difference is this: a WDT tool distributes all the coffee in your filter basket, while a coffee distributor focuses on the top layer of your puck. The latter helps you especially with tamping evenly, the next step in making espresso.
Do you have any questions about this product or want to know something else? Feel free to drop us a line! Jasper & Hugo are always there for you!


 No products in the cart.